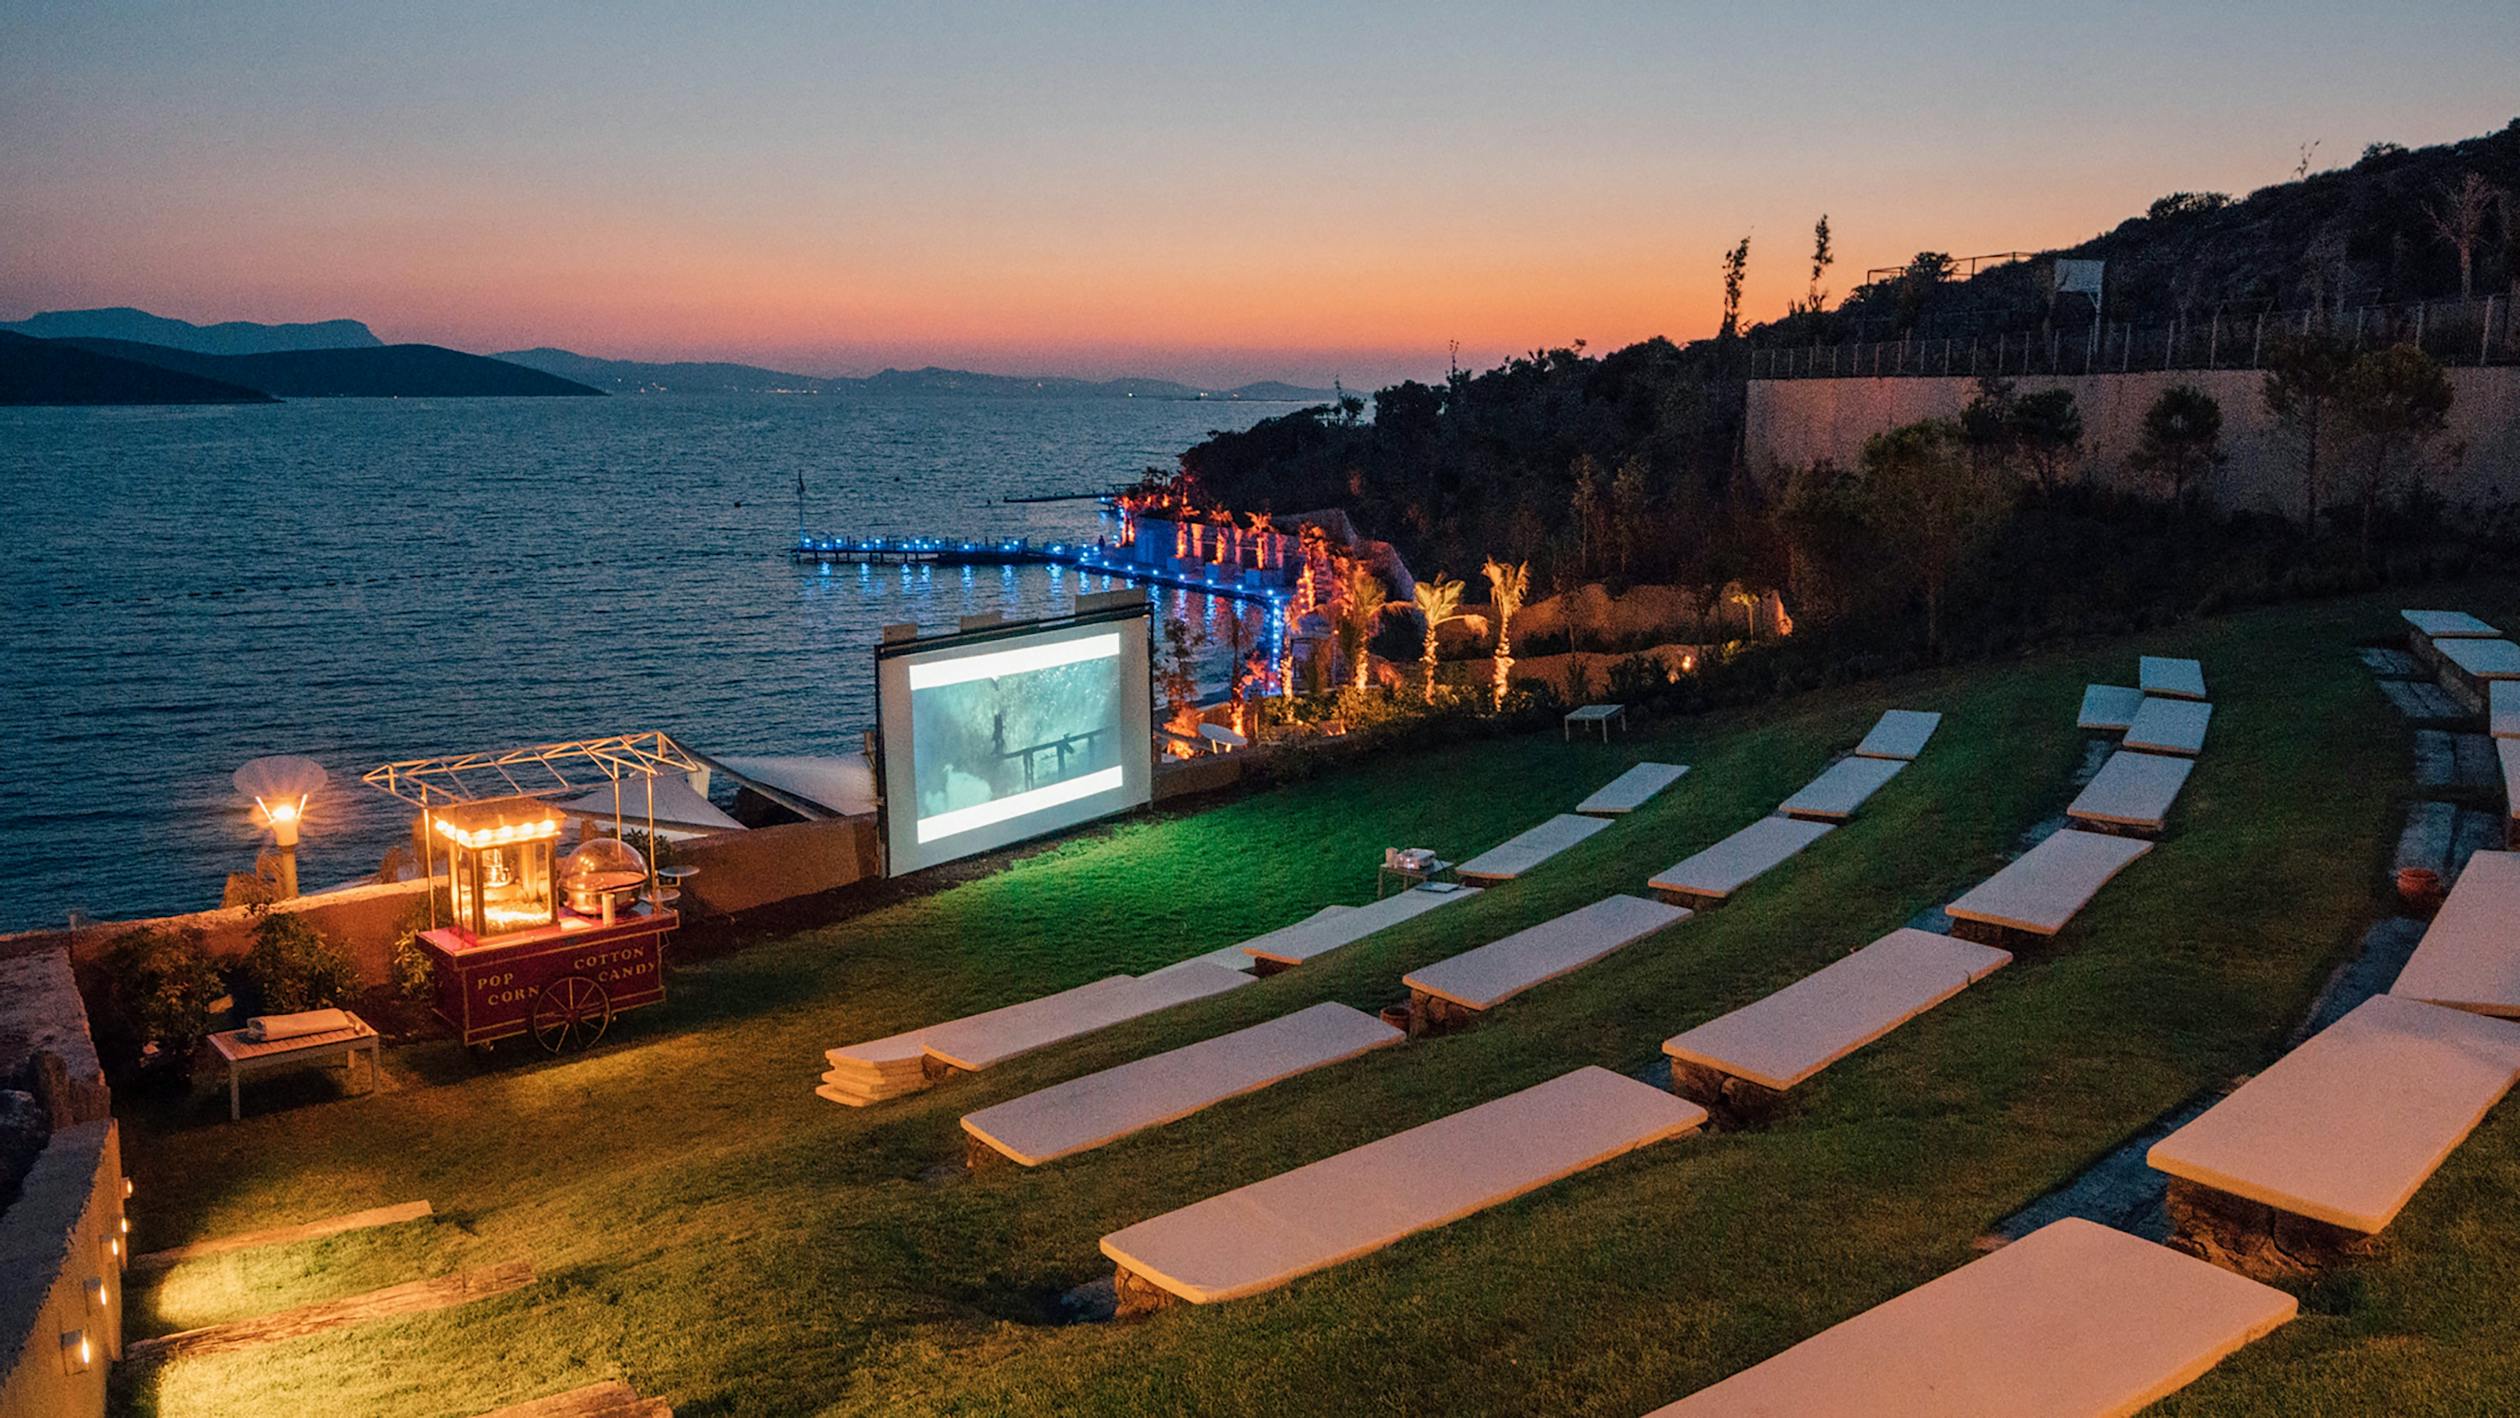
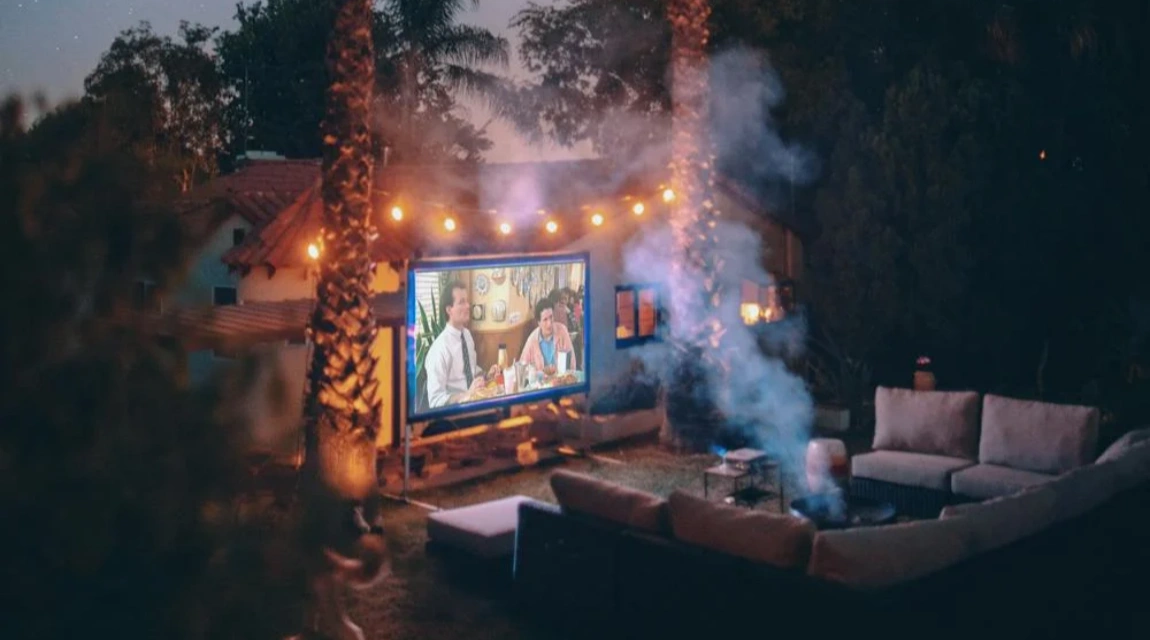
Inflatable projector screens have become a popular choice for outdoor movie nights, offering a portable and immersive viewing experience. This article provides a comprehensive guide on setting up an inflatable screen, including selecting the best size, projector, and audio system. It addresses common challenges such as wind resistance, wrinkles, and brightness optimization. Additionally, we explore alternative indoor solutions, like NearHub smart boards, for those who need a versatile display for home or office use.
Ever dreamed of hosting an epic outdoor movie night but worried about setting up an inflatable projector screen? You're not alone.
Maybe you’re picturing tangled cords, a screen that won’t stay up, or a projector that just won’t cooperate. I’ve been there too! But don’t worry—I’ll walk you through everything step by step, so you can enjoy that larger-than-life movie experience under the stars.

Why an Inflatable Movie Projector Screen?
Before we get into the setup, let’s talk about why an inflatable screen and projector is a total game-changer for movie nights, sports events, and even work presentations.
Advantages of an Inflatable Projector Screen
✅ Large Display: Much bigger than traditional screen projector, creating an immersive experience.
✅ Easy to Store & Transport: Deflates into a compact size, making it perfect for outdoor use.
✅ Quick Setup & Takedown: Unlike fixed screens, an inflatable movie projector screen can be set up within minutes.
✅ Weather-Resistant: Designed for outdoor use, but still requires precautions against strong winds.
Now, let’s set this thing up!
Step 1: Pick the Perfect Spot
Your setup location can make or break the entire experience. Here’s what to consider:
Best Places to Set Up an Inflatable Projector Screen
✔️ Flat & Level Ground: Avoid hills and uneven terrain for stability.
✔️ Sheltered from Strong Winds: Wind can make the screen sway or even tip over.
✔️ Close to a Power Source: You'll need outlets for the blower and projector.
✔️ Away from Streetlights: Artificial light can wash out your screen's image.
Common Issues & Solutions
❌ Problem: The ground isn’t level, causing the screen to lean.
✔ Solution: Use sandbags or weighted objects at the base to stabilize the screen.
❌ Problem: Wind is making the screen move too much.
✔ Solution: Secure it with ground stakes and ropes for extra stability.
Step 2: Unpack & Inflate the Screen
Now that you’ve found the perfect location, it’s time to get the screen up!
How to Inflate an Inflatable Movie Projector Screen
1️⃣ Lay Out the Screen: Spread the inflatable screen with projector on a clean, dry surface to avoid dirt and damage.
2️⃣ Secure the Base: Many screens come with stakes or sandbags—use them to prevent shifting.
3️⃣ Plug in the Blower: Most screens inflate within 2–5 minutes. Monitor the process to avoid overinflation.
4️⃣ Check for Wrinkles: If wrinkles appear, gently stretch the screen while it inflates.
Common Issues & Solutions
❌ Problem: The blower is too noisy.
✔ Solution: Place it a few feet away from the screen and use an extension cord.
❌ Problem: The screen isn’t inflating properly.
✔ Solution: Check for leaks, and ensure the blower is fully connected.
Step 3: Set Up Your Projector Like a Pro
A great screen is useless without a properly set-up projector. Here’s how to get the best image possible.
Where to Position the Projector
- Distance: Check your projector’s manual for the ideal throw distance (typically 8–12 feet).
- Height: Align it with the middle of the screen to avoid keystone distortion.
- Stable Surface: Place the projector on a tripod or a sturdy table.
How to Get the Best Image Quality
✔️ Adjust the Focus: Use the projector’s focus ring for a sharp image.
✔️ Set Keystone Correction: Fix any distortions caused by the angle of the projector.
✔️ Choose the Right Resolution: A projector with at least 1080p resolution is recommended for clarity.
Common Issues & Solutions
❌ Problem: The image is too dim.
✔ Solution: Use a projector with at least 3,000 lumens for outdoor viewing.
❌ Problem: The image is misaligned or looks stretched.
✔ Solution: Adjust keystone settings and reposition the projector for a proper aspect ratio.
Step 4: Secure the Setup for a Flawless Movie Night
The last thing you want is your inflatable projector screen tipping over mid-movie!
How to Keep Your Setup Stable
✔️ Anchor It: Use stakes, sandbags, or ropes for extra stability.
✔️ Check for Trip Hazards: Arrange cords neatly to avoid accidents.
✔️ Test the Sound: Projectors often have weak speakers—consider external speakers.
Common Issues & Solutions
❌ Problem: The screen moves when people walk nearby.
✔ Solution: Reinforce with additional weights at the base.
❌ Problem: The built-in speaker isn’t loud enough.
✔ Solution: Use Bluetooth or wired external speakers for a better experience.
Step 5: Enjoy the Show!
You did it! Now grab some popcorn, cozy up under a blanket, and hit play. Whether it's a family movie night, a Super Bowl party, or a work event, you’re all set for an unforgettable experience.

FAQs
1. Can I use an inflatable screen and projector during the day?
Technically, yes—but the image quality will be poor. Projectors rely on darkness to produce a crisp, bright image. If you must use one during the day, look for a high-lumen projector (5,000+ lumens) and place the screen in a shaded area.
2. What’s the best size for an inflatable movie projector screen?
It depends on your space and audience size
- 12–16 feet – Perfect for small backyard gatherings
- 20+ feet – Ideal for larger events like parties or public screenings
3. Do I need a special projector for an inflatable screen?
Not necessarily, but here’s what to look for
- At least 3,000 lumens for a bright image
- 1080p resolution or higher for clarity
- Short-throw or long-throw lens, depending on your space
4. How do I store an inflatable screen with a projector after use?
Proper storage will extend the lifespan of your screen. Follow these steps
- Deflate completely before packing
- Wipe it down to remove dirt and moisture
- Let it dry to prevent mold and mildew
- Store in a dry, cool place inside a storage bag
5. Can an inflatable projector screen withstand wind?
Most screens can handle light breezes, but stronger winds (10+ mph) can be problematic. To keep it stable
- Use ground stakes and tethers to secure the frame
- Add sandbags at the base for extra weight
- Position the screen near a windbreak (like a fence or building)
6. What’s the best way to keep an inflatable screen stable?
Outdoor conditions can be unpredictable, so make sure to
- Use stakes and ropes to prevent tipping
- Avoid setting up on a hill or uneven ground
- Reinforce the base with weights to minimize movement
7. Can I use an inflatable projector screen indoors?
Yes, but consider whether you have enough space. A 12–16 foot screen may not fit well inside most homes. If you're looking for an indoor alternative, a smart board might be a better option. (See details here)
8. Do inflatable screens come with built-in speakers?
No, the screen itself does not have speakers. The projector may have built-in audio, but for a true cinematic experience, consider these options
- External Bluetooth speakers for wireless sound
- Wired soundbars for better audio quality
- FM transmitter for drive-in-style audio through car radios
9. What’s the best way to improve projector brightness outdoors?
Outdoor setups can suffer from dim images. Try these solutions
- Use a high-lumen projector (3,000+ lumens minimum)
- Ensure complete darkness for the best contrast
- Position the projector properly to maximize light output
10. How do I prevent wrinkles on the inflatable movie projector screen?
Wrinkles can distort the image, so keep your screen smooth with these tips
- Stretch the screen while inflating to minimize creases
- Use a hairdryer on low heat (from a distance) to smooth out wrinkles
- Let the screen sit in the sun before inflating to loosen the material
Looking for an Indoor Alternative? Try NearHub Smart Boards!
While an inflatable projector screen is perfect for outdoor movie nights, it may not always be the best choice for indoor use. If you're looking for a high-tech, space-saving alternative, consider the NearHub smart board series.
Why Choose a Smart Board Instead?
✔️ Ultra HD Display – No need for a projector, the built-in screen provides crisp, high-resolution visuals.
✔️ Touchscreen Capabilities – Interactive writing, drawing, and presenting make it perfect for business and education.
✔️ Built-in Collaboration Tools – Seamlessly connect with remote teams and students using NearHub webcam whiteboard features.
✔️ No Setup Hassle – No need to inflate or worry about screen stability—just turn it on and start presenting!
Whether you're running a meeting, teaching a class, or brainstorming ideas, the NearHub S55 and NearHub S75 smart boards offer a more efficient and professional solution.
Want to take your presentations or home entertainment to the next level? Check out NearHub's smart board lineup today! 🚀


