Conference Room Setup: A Video Conferencing Checklist That Works
Plan a conference room setup in the right order, from meeting purpose and room geometry to camera, audio, display, connectivity, and testing.
Conference Meeting
Hybrid Work
Meeting Room Setup
Updated: Aug 28, 2026 · 8 minutes read
Global Business, Brought Near.
No Installer, No Hassle, Just Works.
A dependable conference room starts with a defined meeting workflow, not a shopping list. Match the camera and audio coverage to the room, choose BYOD or a dedicated system, route every required connection, and approve the result through a remote test call before making the installation permanent.
Key Takeaways
A self-install room is realistic when one display, one host connection, and one integrated audio-video device can serve every normal seat.
Test the quietest speaker at the farthest seat; camera coverage alone does not prove the room is ready.
For six to twelve seats, plan an audio expansion path before approving furniture, power, or permanent cable routes.
A setup is complete only after a remote reviewer verifies speech, framing, content sharing, reconnection, and recovery.
A reliable conference room setup gives an ordinary host one clear way to start a call, share content, and include every seat without troubleshooting the room. The fastest path is to define the meeting workflow first, choose equipment that fits the room, connect it in a deliberate order, and finish with a real call reviewed from the remote side.
Do not begin with a camera specification or a bundle labeled “room in a box.” Begin with the people, the room, and the platforms they use. A compact discussion room may be easy to deploy with a display, laptop, and one all-in-one conference device. A longer room may need expansion microphones or an installed system even when the camera can see every chair.
Conference Room Setup Checklist: The Short Version
Use this answer-first checklist before buying, mounting, or routing anything permanently:
Define the room’s normal capacity and dominant meeting type.
Confirm which platforms must work: Microsoft Teams, Zoom, Google Meet, Webex, or a mix.
Decide whether hosts bring laptops or use a dedicated room system.
Map the nearest, farthest, and most obstructed seats.
Choose the display around viewing distance and content-sharing needs.
Select a camera architecture that matches where people sit and look.
Test microphone pickup from the quietest person at the farthest seat.
Plan power, network, display, camera, audio, and control connections together.
Make the normal join path obvious to a first-time host.
Run a remote acceptance call before approving permanent installation.
Record the correct device names and the first two recovery steps.
If those items fit one simple diagram, a DIY or no-IT deployment may be realistic. If the diagram needs multiple signal extenders, ceiling devices, control processors, or custom switching, treat the project as an integrated AV build.
What Equipment Does a Video Conference Room Need?
A complete conference room equipment setup must provide six functions. Several can be combined in one device, but none can be ignored.
Function
What to provide
What to verify
Display
TV, commercial display, or interactive board
Text remains readable from the farthest seat
Camera
Front-of-room, tabletop 360°, PTZ, or multi-camera system
Every normal seat appears naturally in the remote feed
Microphone
Built-in mic array, expansion mic, tabletop mic, or ceiling array
Quiet speech remains intelligible at the room boundary
Speaker
Built-in speakerphone, display audio, or installed speakers
Remote speech is clear without echo or feedback
Meeting host
BYOD laptop, dedicated room computer, or platform appliance
Users can join the required platforms consistently
Infrastructure
Power, network, HDMI/USB, adapters, mounts, and cable paths
Connections are safe, serviceable, and easy to recover
Optional items include a touch controller, room-scheduling panel, wireless presentation device, second display, expansion microphone, spare adapter, and a printed recovery card. Add them only when they remove a documented problem.
Step 1: Define the Meeting Before Choosing Hardware
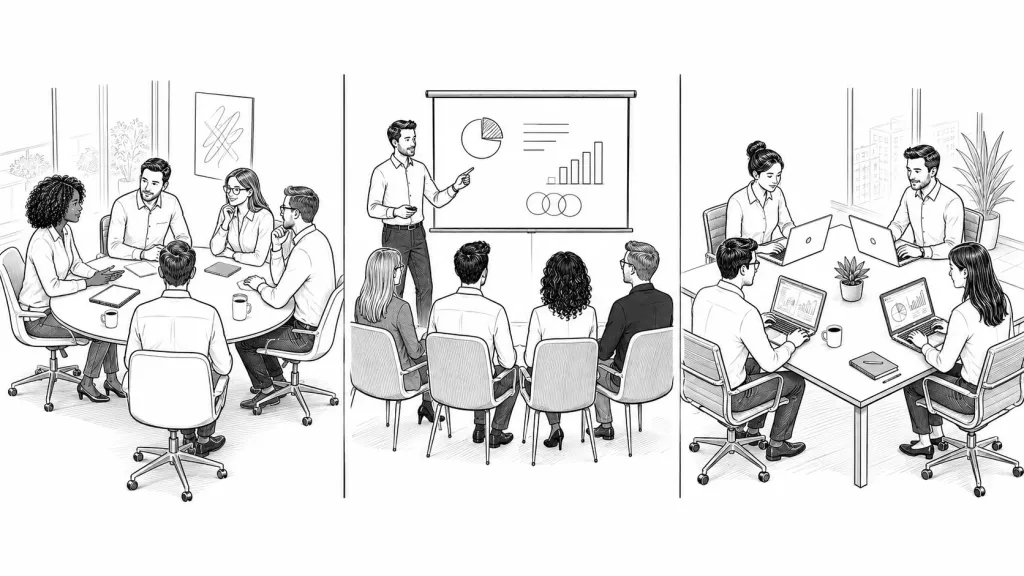
Write down the room’s dominant behavior. Do people discuss work around a table, face a presenter, review detailed content, or move between those modes? The direction of attention determines the useful camera position, display layout, and microphone plan.
Then answer four questions:
How many seats are occupied during a normal meeting—not the room’s maximum event capacity?
Which seat is farthest from the likely camera and microphone position?
Does the host bring a laptop, or should the room launch meetings independently?
Who restores the room when the normal owner is unavailable?
A room used for roundtable discussion may benefit from a table-centered view. A presentation-heavy room often needs a front camera or PTZ approach. A flexible room can support both, but it still needs one documented default workflow.
Step 2: Match the Conference Room AV Setup to Room Size
Room size is a starting point, not proof of coverage. Table length, reflections, background noise, seating direction, and speaker volume can make two rooms with the same square footage behave differently.
Keep camera placement provisional until a live test. The meeting room camera placement guide explains how to check eye line, glare, obstructions, and the weakest seat before permanent cabling.
Step 3: Choose BYOD or a Dedicated Room System
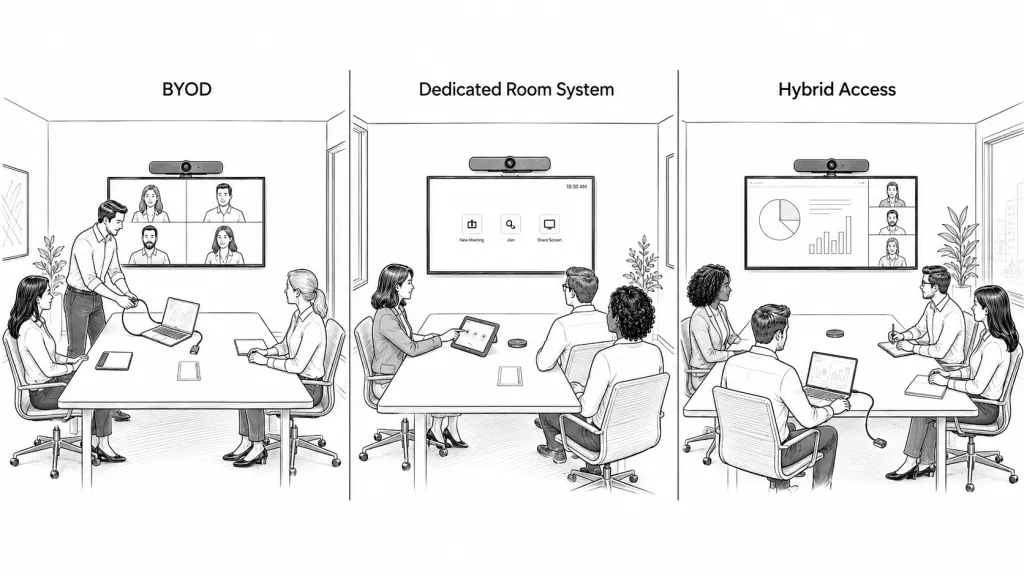
The joining model is the central decision in a conference room setup for video conferencing.
Workflow
Best when
Advantage
Trade-off
BYOD
Teams use several platforms and already bring laptops
Familiar accounts and flexible apps
Users must connect and select the room devices correctly
Dedicated room system
The organization standardizes one platform and manages room accounts
Consistent join experience
Licensing, administration, updates, and guest meetings need ownership
Hybrid access
A default room system must also accept guest laptops
Covers internal and external meetings
More switching paths create more recovery steps
Choose the simplest model that supports normal meetings. “Turnkey” should mean the host understands how to start, share, and recover the call—not merely that several products arrived in one box.
Step 4: Connect the Room in a Recoverable Order
An easy setup follows a sequence that exposes problems early:
Place the display and camera temporarily. Confirm sight lines before mounting.
Connect power and network. Do not hide service access behind furniture.
Connect the meeting host. For BYOD, connect the room camera/audio and the display to the laptop. For a dedicated system, confirm the room account and controller.
Open the meeting platform. Select the intended camera, microphone, speaker, and display.
Share representative content. Use a spreadsheet or drawing, not only a title slide.
Reconnect once. Unplug and reattach the normal host connection, then confirm the devices return.
Restart the room. Verify that the default path survives a normal reboot.
Plug-and-play reduces driver and configuration work, but it does not remove the meeting app, user permissions, network, power, or device selection. Wireless conferencing can remove the host-to-room USB cable, but it does not make the entire room cable-free. The wireless meeting room guide separates power, network, content sharing, camera/audio transport, and control.
When a No-IT Conference Room Setup Is Realistic
A no-IT or self-install setup is a good fit when:
One integrated device can cover the normal camera, microphone, and speaker needs.
The display and table already have safe power access.
The host uses a familiar laptop and meeting platform.
USB or a dedicated wireless adapter creates one obvious connection path.
The room does not require ceiling hardware, custom programming, or concealed long-distance signal runs.
A nontechnical user can restore the room using a short recovery card.
Professional AV integration is the better choice when the room needs ceiling microphones, multiple cameras or displays, custom touch control, complex acoustics, movable partitions, long signal extensions, construction work, or centralized enterprise support. The goal is not to avoid an installer at all costs; it is to avoid unnecessary complexity while recognizing real integration requirements.
Where Nearity 360 Alien Fits
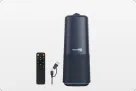
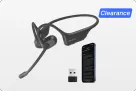
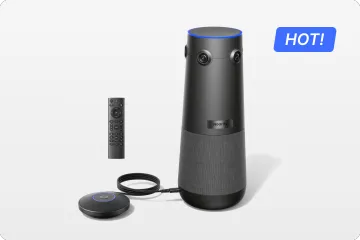
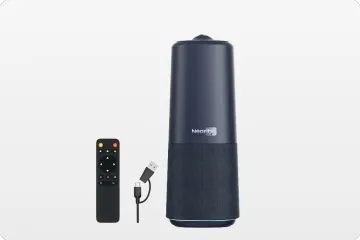
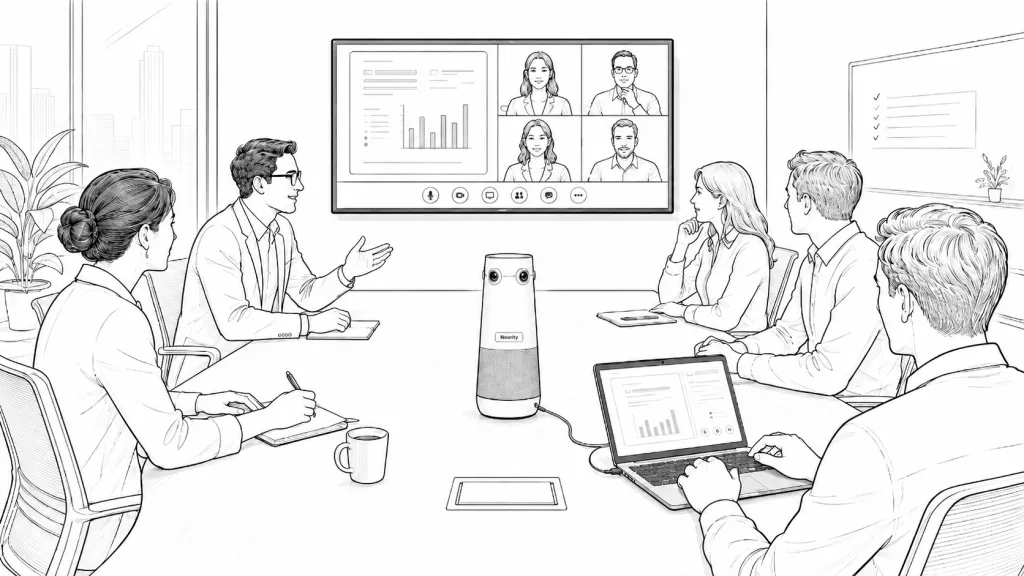
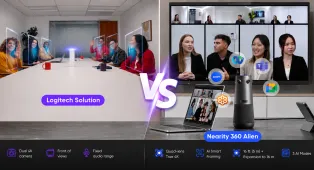
The Nearity 360 Alien is one option for table-centered discussion rooms that need camera, microphone, and speaker functions in one device. NearHub’s current product information lists four-camera 360° video, six built-in microphones, USB or optional wireless-dongle connection, and compatibility with Zoom, Microsoft Teams, Google Meet, and Webex. Basic use does not require a dedicated driver or app.
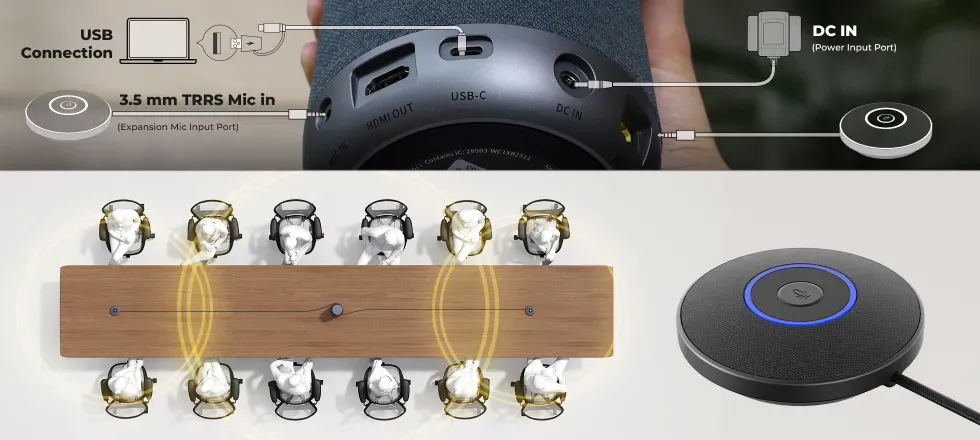
The device supports up to two expansion microphones. That makes it relevant when a small-room workflow must extend into a medium room without immediately becoming a distributed AV system. Expansion still needs to be validated in the actual room; reflective surfaces, table length, noise, and quiet speakers can change the result.
Compare this tabletop approach with two credible alternatives:
Approach
Choose it when
Check before buying
Table-centered all-in-one camera
Conversation moves around the table and BYOD flexibility matters
Table obstruction, power access, expansion path, final platform crop
Front-of-room video bar
Participants face the display in a shallow room
Far-seat face size, microphone reach, mounting height
Professionally integrated AV
The room is large, irregular, presentation-heavy, or operationally critical
Design responsibility, support model, commissioning, total complexity
Step 5: Run a Remote-Side Acceptance Test
Do not approve the room from the in-room self-view. A remote reviewer can detect compression, weak voices, echo, framing changes, and unreadable shared content that people inside the room may miss.
Use this acceptance sequence:
Join through the normal host workflow.
Confirm the selected camera, microphone, and speaker.
Speak from every normal seat at a natural volume.
Test the quietest speaker from the farthest position.
Allow two people to overlap briefly.
Share detailed content and keep remote faces visible if that is required.
Check framing with typical room lighting and the display turned on.
Disconnect and reconnect the host device.
Repeat the guest or secondary platform workflow.
Restart the room and verify recovery.
Ask the remote reviewer comparative questions: Which seat sounds weakest? Does anyone disappear when another person speaks? Can you read the smallest normal content? Does the camera show the active speaker naturally?
Troubleshooting the Most Common Setup Failures
Symptom
Likely cause
First action
Camera works but audio uses the laptop
Platform kept the previous default device
Select the room device separately for microphone and speaker
Remote users hear echo
Playback is feeding another active microphone
Disable unused laptop audio and test one audio path at a time
Far seats sound weak
Microphone distance or room reflections exceed practical coverage
Move the capture point or test an expansion microphone
Shared text is unreadable
Display size, resolution, or sharing method is wrong
Share the source digitally and test from the farthest seat
Guest laptop does not reconnect
Adapter, permission, or device-routing state changed
Reconnect in the documented order and verify OS permissions
If the same failure returns after the room has been reset and documented, treat it as a design problem rather than a training problem.
FAQs
How often should a conference room setup be retested?
Retest the room after firmware, operating-system, platform, network, furniture, or cabling changes. For a stable room, run a short remote-side check at least quarterly and before an important client or executive meeting.
Can a wireless conference room setup eliminate every cable?
No. Wireless conferencing may replace the host-to-room USB cable, but the display and room device still need power, and the meeting still needs network access. Label each connection by what it carries instead of treating wireless as cable-free.
Does a conference room need a 4K camera?
Not every room needs 4K output, but additional source detail can help when software crops a wide image into closer participant views. Final clarity still depends on distance, lighting, framing, platform processing, and the remote participant's display.
When should a business use a professional AV installer?
Use a professional installer when the room needs ceiling microphones, multiple cameras or displays, long signal runs, custom control, integrated room scheduling, acoustic treatment, construction work, or support across a complex enterprise standard.
Build the Room Around a Successful First Call
A good video conference room setup is not the one with the longest equipment list. It is the room in which the next host can connect, choose the correct devices, include every seat, share content, and recover from a simple failure without improvising.
Start with the checklist, choose a workflow, test the weakest seat, and let the remote experience decide whether the room is finished. If a table-centered all-in-one configuration fits those requirements, review the current Nearity 360 Alien configurations. If the room needs distributed capture or custom control, document that boundary and involve an AV professional before permanent installation.