Training Room Camera Setup for Presenters and Group Discussion
Plan camera views around the moments a training room shifts between teaching, demos, questions, and discussion.
Conference Room AV
Meeting Room
Room Layout
Updated: Aug 21, 2026 · 7 minutes read
Global Business, Brought Near.
No Installer, No Hassle, Just Works.
A training room camera should be chosen around transitions between instruction, shared content, demonstrations, audience questions, and group discussion. One static wide view rarely serves every mode. Define the required views, the trigger for switching, and the audio path for each mode before selecting a front camera, a 360-degree camera, or a multi-camera system.
Key Takeaways
Use a front camera when a presenter and shared content dominate; add an audience view when remote learners must read reactions or follow questions.
For sessions that alternate between presentation and discussion, define no more than three named view modes and assign a clear trigger for each switch.
Test training-room audio with a seated questioner looking away from the microphone, not only with the instructor speaking toward it.
Choose a multi-camera architecture when demonstrations, presenter movement, and audience interaction create separate visual zones that one origin cannot cover.
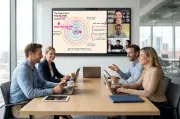
One static wide shot can make a hybrid workshop look complete while remote learners miss the presenter’s demonstration and every audience question. The right training room camera setup is built around transitions: instruction, shared content, hands-on demonstration, questions, and group discussion. Define the required view and audio path for each mode first; then choose the least complex camera architecture that can switch between them reliably.
That approach is different from sizing a standard conference room. Training is temporal. The same chairs and equipment support different activities across one session, and a view that works at 9:00 during slides may fail at 9:30 when the instructor walks to a demo table. The design problem is not “Can the camera see the room?” It is “Can remote learners follow what matters now, and can the room change that view without losing the lesson?”
Why Is a Training Room Camera Different From a Meeting Camera?
A training room camera must represent changing centers of attention, while a conventional meeting camera often serves one stable conversation zone. The key difference is not resolution or brand; it is how many visual jobs the room performs during a normal session.
Those jobs commonly include:
A presenter speaking near the main display.
Slides or software shared digitally.
A physical demonstration on a table, board, or object.
An in-room participant asking a question.
A remote participant asking a question.
Small groups working and reporting back.
Each job creates a different useful composition. During instruction, remote learners need the presenter's face, gestures, and relationship to the content. During a demonstration, they need detail in a specific work area. During discussion, they need speaker identity and reactions. A single global view provides orientation but may not provide enough relevance.
The first-principles reason is simple: cameras do not capture “engagement.” They capture a bounded view from one origin. Training feels engaging when that bounded view follows the learning task. If the learning task moves while the view stays fixed, remote participants perform extra interpretation—trying to determine who is talking, where the instructor moved, or what object everyone in the room can see.
Map the Session as View Changes, Not Agenda Items
Map a training session by view changes because agenda labels often hide the visual work. “Module Two” tells the camera designer nothing; “instructor demonstrates a physical process, then learners practice in pairs” defines two distinct modes.
Take a typical agenda and annotate every segment with five fields:
Segment
Visual priority
Audio priority
Remote action
Switch trigger
Welcome
Presenter plus room orientation
Presenter
Introduce themselves
Session starts
Instruction
Presenter and digital content
Presenter
Watch and respond
Slides begin
Demonstration
Hands, object, or whiteboard
Presenter near demo zone
Inspect details
Presenter moves
Practice
Group or work area
Local conversations
Complete task
Exercise begins
Q&A
Current questioner and responder
Audience plus presenter
Ask or follow up
Facilitator calls a question
Debrief
Group discussion
Multiple speakers
Compare outcomes
Participants return
This table reveals whether one camera origin is enough. If presenter, demo surface, and discussion all occur in one compact zone, one intelligent camera may cover them with controlled modes. If the presenter walks across a wide front, the demo happens at a side bench, and questions come from deep rows, the room has multiple visual origins. No amount of digital zoom changes the fact that one camera sees from one location.
The hidden design variable is the switch trigger. A room can own several views but still fail if nobody knows when or how to select them. Automatic switching can reduce operator work when the event is predictable. Manual switching can be clearer when the facilitator knows the teaching sequence. A dedicated operator is justified only when the session value and production expectations warrant one.
Start With the Instructor-at-the-Front Scenario
For instructor-led segments, place the primary camera near the remote audience's visual destination: usually the main display or presentation zone. This produces a coherent relationship between the person speaking, the content, and where in-room participants look.
Imagine an internal trainer teaching a new workflow. The first 20 minutes are slides, and the instructor gestures toward examples on the display. A camera mounted high in a rear corner technically includes the presenter and audience, but remote learners see mostly heads and floor space. When the instructor points to a detail, the gesture is too small to interpret. The irreversible consequence is not dramatic equipment failure; it is that remote learners complete the exercise with a different understanding from the room.
The correct response is not automatically “buy a tracking camera.” First establish the presenter zone. Mark where the instructor naturally stands, whether they cross in front of the content, and where their face becomes backlit. Test a composition that keeps the instructor useful while shared content is delivered digitally rather than filmed from the display.
Use digital content sharing whenever the source already exists on the presenter's computer. This preserves legibility and lets the camera focus on people. Reserve a content camera or demonstration view for physical objects, analog writing, or actions that cannot be shared directly.
Design Demonstration Mode Around the Object, Not the Presenter
Demonstration mode should prioritize the smallest physical detail learners must understand, not simply keep the instructor in frame. A medium shot that looks professional may still be educationally useless if hands, connectors, samples, or board markings are too small.
Ask three questions:
What is the smallest detail a remote learner must distinguish?
Can the presenter perform naturally while keeping that detail visible?
Does the view need the presenter's face at the same time, or can it alternate?
A dedicated document or content camera works when the demonstration happens on a stable surface. A PTZ preset works when the demonstration zone is fixed but larger. A movable camera can support occasional demonstrations, but only if repositioning is part of the session plan rather than an improvised pause.
There is a non-obvious trade-off between tighter detail and instructor freedom. A close view makes the object readable but gives the instructor less room to move. A wide view preserves context but makes the learning target smaller. If your condition is a precision task, prioritize the object and teach the instructor where to work. If your condition is a conceptual demonstration with broad gestures, preserve more context.
Do not ask automatic speaker tracking to solve an object-view problem. Tracking systems are designed around people or sound sources; the important subject may be silent and stationary on a table. Treat the demonstration as its own visual job.
Give Audience Questions a Deliberate Camera and Audio Path
Audience questions need a deliberate path because the instructor's camera and microphone are optimized for the front, while questions originate from dispersed seats. Without a plan, remote learners hear an off-camera voice, wait for the instructor to repeat it, or never know which part of the room is reacting.
The audio decision comes before the close-up. A beautiful shot of a questioner is irrelevant if the question is unintelligible. Possible paths include distributed microphones, a passed handheld microphone, a designated question position, or table-level expansion microphones. Choose by frequency and room behavior.
Question pattern
Better starting approach
Main trade-off
Rare questions at the end
Passed or designated microphone
Slower handoff, simpler system
Frequent questions throughout
Distributed pickup near audience zones
More planning and tuning
Small U-shape discussion
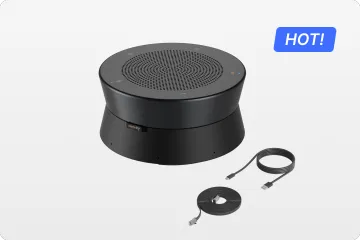
Central or expandable table audio
Requires an unobstructed center
Large theater audience
Facilitated aisle microphones
Needs staffing or movement time
The non-intuitive dimension is question latency. A passed microphone may produce excellent audio once it arrives, but the delay can discourage follow-up and make the discussion feel staged. Distributed pickup reduces that delay but may capture more room noise or require more integration. Choose the approach that preserves the intended interaction, not the one with the cleanest equipment list.
When a question exposes a false success
A training room passes its launch test while only the instructor speaks. During the first client workshop, a participant in the third row asks a critical implementation question while looking at a colleague. The instructor hears it and answers immediately, but remote attendees hear only the answer. They assume they missed a reference and do not interrupt. The recording permanently preserves an answer without its question. Testing only the instructor created the false success.
Plan Remote Questions as Part of the Room, Not the Platform
Remote questions should enter a monitored facilitation loop: someone watches the remote queue, creates a pause in the room, and confirms that both sides know who is speaking. Camera behavior should support that loop rather than switching unpredictably during the interruption.
Assign three roles, even if one person holds all of them:
Presenter: controls instruction and decides when to pause.
Facilitator: watches chat, raised hands, and remote audio.
Room host: controls the camera/audio mode and resolves device issues.
For a small session, the instructor may perform all three roles. If so, reduce the number of controls. A sophisticated system that requires the presenter to watch several interfaces can undermine the lesson. For a high-stakes workshop, assign a facilitator so remote participation does not compete with teaching attention.
When a remote learner asks a question, keep the responding presenter visible and include the room only when reactions are useful. Constantly switching to a global view can shrink the relevant person at the moment attention is highest.
Choose Between Front, Table-Centered, and Multi-Camera Architectures
Choose the camera architecture by counting distinct visual zones and evaluating how often the session moves among them. Do not treat the options as a quality ladder.
Architecture
Strongest use
Hidden advantage
Limitation to test
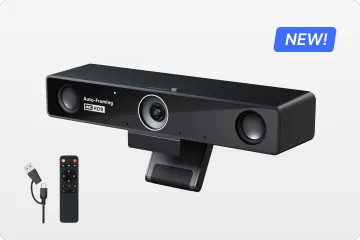
Front-facing camera
Presenter-led instruction and content
Gaze aligns with the main display
Audience questions may lack useful views
Table-centered 360-degree camera
U-shape or small-group discussion
Speaker proximity across a shared table
Presenter and demo zones may sit outside its social center
Front camera plus audience camera
Training that alternates between instruction and Q&A
Separates two visual jobs cleanly
Switching rule and control become necessary
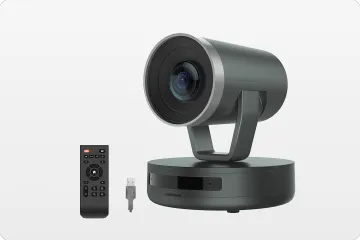
Multi-camera or PTZ system
Wide presenter movement, demonstrations, and large audiences
Each zone can have an intentional composition
Installation, presets, operation, and support are more complex
If your session has one presenter zone and occasional audience reaction, start with a front camera plus a wide audience view. If your session is a U-shaped workshop where participants debate as much as the instructor teaches, evaluate a table-centered system. If your session has three or more independent visual zones that matter every week, a multi-camera design earns its complexity.
But there is an exception: multiple zones do not automatically require multiple cameras if the session can be redesigned. Moving the demonstration table into the presenter zone or designating one report-back position can simplify production without weakening learning. Process design is often cheaper and more reliable than technology designed to follow chaos.
Keep View Modes Few, Named, and Predictable
Use no more view modes than the host can recognize under pressure. A practical training room often needs three: Presentation, Discussion, and Room Orientation. The names should describe the learning moment, not the manufacturer's internal terminology.
For each mode, document:
What remote learners should see.
What in-room action triggers the mode.
Who changes it.
What happens if the switch fails.
How to return to the safe default.
Why limit modes? First, each extra choice increases decision time. Second, decision time occurs while the instructor is already managing content and participants. Third, hosts abandon controls that interrupt their flow, leaving the room in one default view. The common mistake is assuming more automation or more presets always produces more usable coverage.
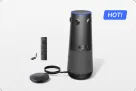
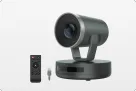
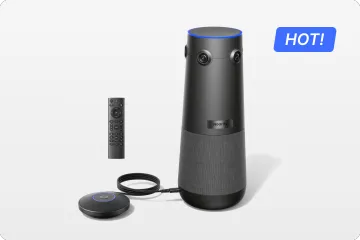
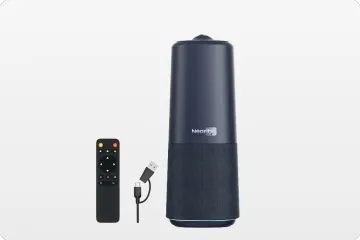
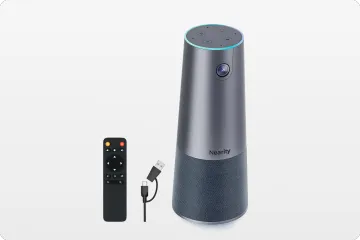
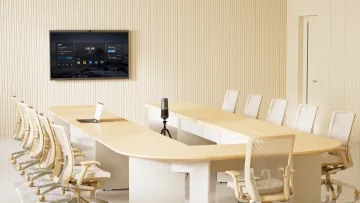
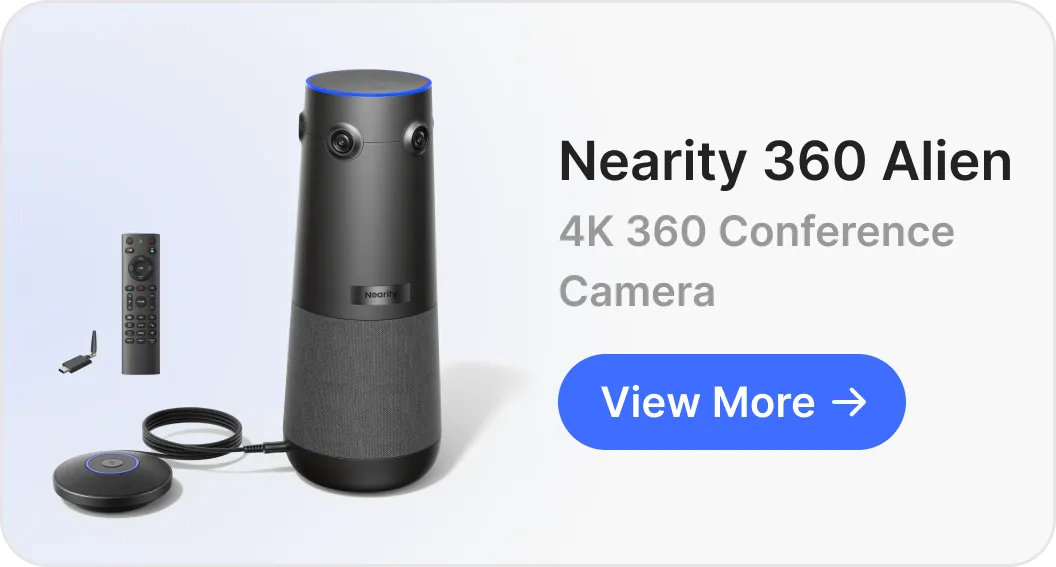
For teams evaluating Nearity 360 Alien, the official product page describes Discussion, Presentation, and Global viewing modes. Those modes are relevant when a training room alternates between a speaker-led segment and table discussion. The capability matters because it maps to recognizable session states; the real-world result depends on testing when each state should be selected and whether the base camera position sees the required zone.
Do not infer that three modes make one device correct for every training room. A wide demonstration area or deep theater seating can still require a separate camera origin.
Decide Whether Wireless Helps the Training Workflow
Wireless connection helps when presenters rotate, furniture moves, or the host laptop cannot remain tethered near the room camera. It does not remove the need for power, display connectivity, network access, or a repeatable device-selection process.
The value is a faster handoff, not a magical cable-free room. If several instructors bring different laptops, a dedicated dongle can make the camera-and-audio connection more consistent. The Nearity wireless-dongle option is one product-specific path described on the official page. It addresses the host-to-room-peripheral link; the room still needs power and the presenter still needs to share content appropriately.
If your organization blocks unknown USB devices, restricts pairing, or cannot tolerate a missing dongle, a labeled wired connection may be the better operational choice. Reliability includes policy compatibility and replacement procedures, not only radio performance.
Test the room by running the transitions in order, not by checking each device separately. A camera self-view, a microphone meter, and a successful screen share do not prove that the lesson remains coherent through mode changes.
Use this script:
Open the session. A different instructor connects, confirms the selected camera and audio, and starts from the documented default.
Teach with content. Share a realistic slide or application while the instructor moves within the marked presenter zone.
Demonstrate something physical. Switch to the defined detail view and confirm that the smallest required action is visible.
Take an in-room question. Use a seated participant who turns toward a peer rather than projecting toward the microphone.
Take a remote question. The facilitator pauses the room and confirms that the answerer remains visible.
Start group discussion. Create normal overlapping speech and observe whether the remote side can follow the active exchange.
Recover from a mistake. Select the wrong camera or disconnect the host path, then see whether the instructor can return to the safe default.
The most common error at step one is testing with the room owner, who already understands every control. At step three, it is showing a large object rather than the smallest normal detail. At step four, it is using a loud volunteer. At step seven, it is skipping recovery because the launch is scheduled.
Record remote screenshots and audio notes for each state. Your sign-off artifact should show that the room supports the lesson, not merely that every device powered on.
Use a Four-Question Purchase Decision
Use four questions to decide what to buy and what to change in the room:
How many visual zones matter every session? One zone favors one camera; several independent zones justify multiple origins or a redesigned workflow.
How often does attention switch? Frequent transitions need predictable modes; rare exceptions can use a manual procedure.
Where do questions originate? One designated point simplifies audio; dispersed interaction needs broader pickup or facilitation.
Who operates the room? A self-service instructor needs fewer, clearer controls; a staffed program can support more production complexity.
If your situation is a compact U-shape with frequent discussion, prioritize a center conversational view and expandable audio. If your situation is a lecture with occasional Q&A, prioritize a front presenter view and a controlled question path. If your situation is demonstrations plus a moving instructor plus deep audience seating, choose multiple camera origins or redesign the activity zones.
What type of camera is best for a hybrid training room?
Use a front-facing camera when presenter-led instruction and shared content dominate. Use a table-centered camera when a compact U-shape or discussion group is the social center. Choose multiple camera origins when the presenter, demonstration surface, and audience questions occupy separate zones that one tested position cannot show usefully.
Does a training room need more than one camera?
It needs more than one when a single position fails distinct visual jobs that matter in normal sessions. Before adding hardware, see whether the demonstration can move into the presenter zone or questions can use a designated position. Add a second camera only when the workflow cannot reasonably consolidate those zones.
How should remote participants ask questions in a training room?
Give them a monitored channel—raised hand, chat, or audio—and assign someone to create a pause in the room. The facilitator should identify the remote question, keep the responding presenter visible, and confirm follow-up. This operational loop matters more than an elaborate camera switch that nobody controls consistently.
Can a wireless camera connection make a training room portable?
It can reduce the host-to-camera cable burden and make laptop handoff easier, but portability depends on the complete reset workflow. The room still needs camera power, display access, network, known device settings, and marked positions. Test whether a new instructor can restore the documented modes after furniture has moved.
Before calling the room portable, give the instructor a one-page ownership card. It should name the default camera view, the presentation and discussion switches, the selected microphone and speaker, the marked equipment positions, and the wired fallback. Pack every movable accessory in one labeled case and photograph the approved layout. Then ask a second instructor to reset the room from that card alone. If they need verbal coaching, the system is movable but not yet portable. Portability is an operational result: the next session must reproduce the tested views and audio without relying on the person who packed the equipment.
Rehearse the Transitions Before the First Class
Do not finish a training room by saving one attractive camera preset. Rehearse the actual sequence—teach, share, demonstrate, question, discuss, recover—with someone watching remotely. Name the modes in user language, limit the controls, and document the safe default. The next action is a complete practice session led by someone who did not design the room; if they can keep the lesson coherent, the camera plan is ready.